In-house catering often happens at tables and other locations on the premises. A table is therefore an umbrella term that refers to locations that are easily accessible to you and your staff within a short time. In GonnaOrder, you can manage tables by creating, updating, and even discarding tables that are no longer needed in your store. Each GonnaOrder table is associated with a unique QR code and table URL. You can download the QR code, print them fix them on physical tables to make it convenient for customers to place orders.
On This Page
- Create Tables in Bulk
- Add Individual Tables
- Update Table Details
- View the List of Tables
- Capture Orders From Specific Table
- Filter Open Orders From a Particular Table
- Filter Open Orders From a Table With an Open tab
- Ordering From a Table URL or QR Code
- Download Table Qr Codes
- Enable Open Tab Ordering for Individual Tables
- Delete a Table
Create Tables
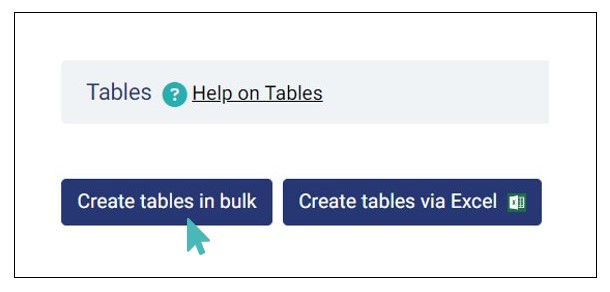
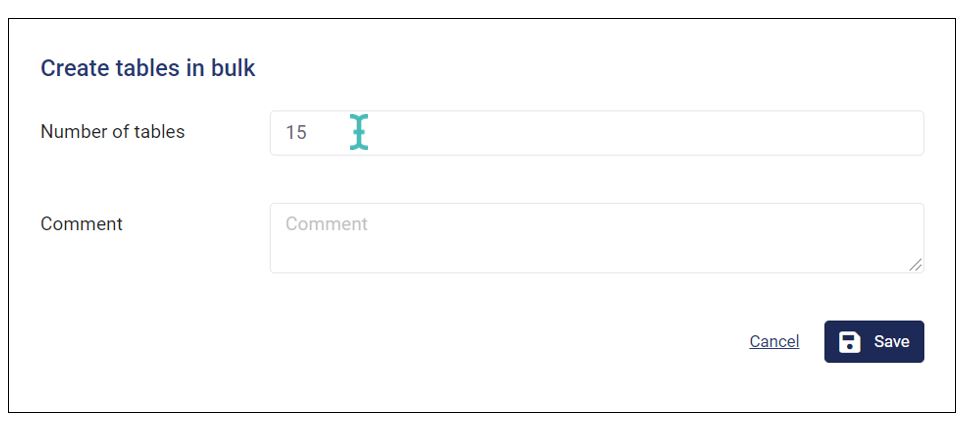
The easiest way to start creating tables is by clicking on the Create tables in bulk button from the Tables section. The button is only available in the tables section if you have no existing tables.
You must then indicate the number of tables you would like to create. GonnaOrder will automatically create the specified tables and assign to each of the tables a number starting from the table with the number 1. This number will be displayed to customers when they scan the QR code and the store staff view table service orders.
You can also put a comment that will be used for all tables. Table comments can be updated later for each individual table. If you are not sure yet whether you need a comment for all your tables, leave this field empty.
Click on Save and the tables will be created.
Alternatively, you can choose to Create Tables Via Excel.
Add Individual Tables
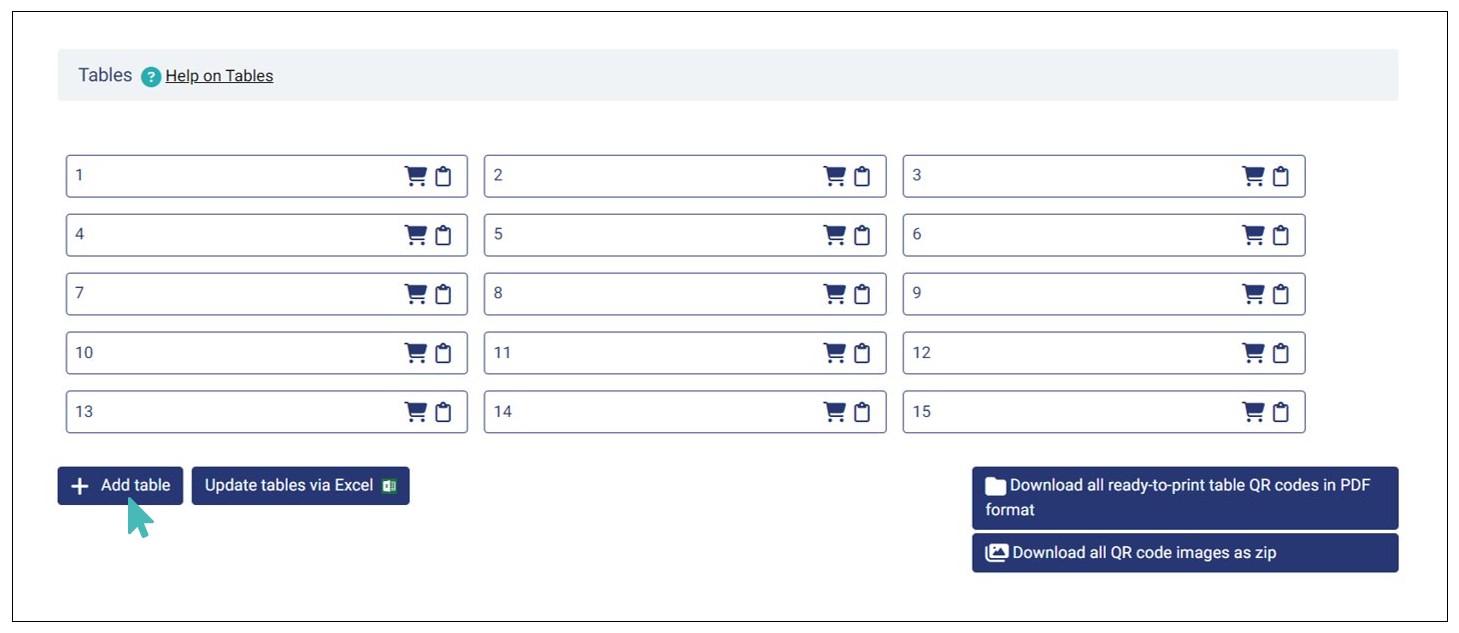
If you already have at least one table in your store, you will not see the Create tables in bulk option, instead, you will have a button to Add tables. You can only add one table at a time with this option.
This functionality also allows you to create rooms and locations. Therefore, it is indispensable if you are operating a hotel where room service might be required or if you do deliveries to designated locations.
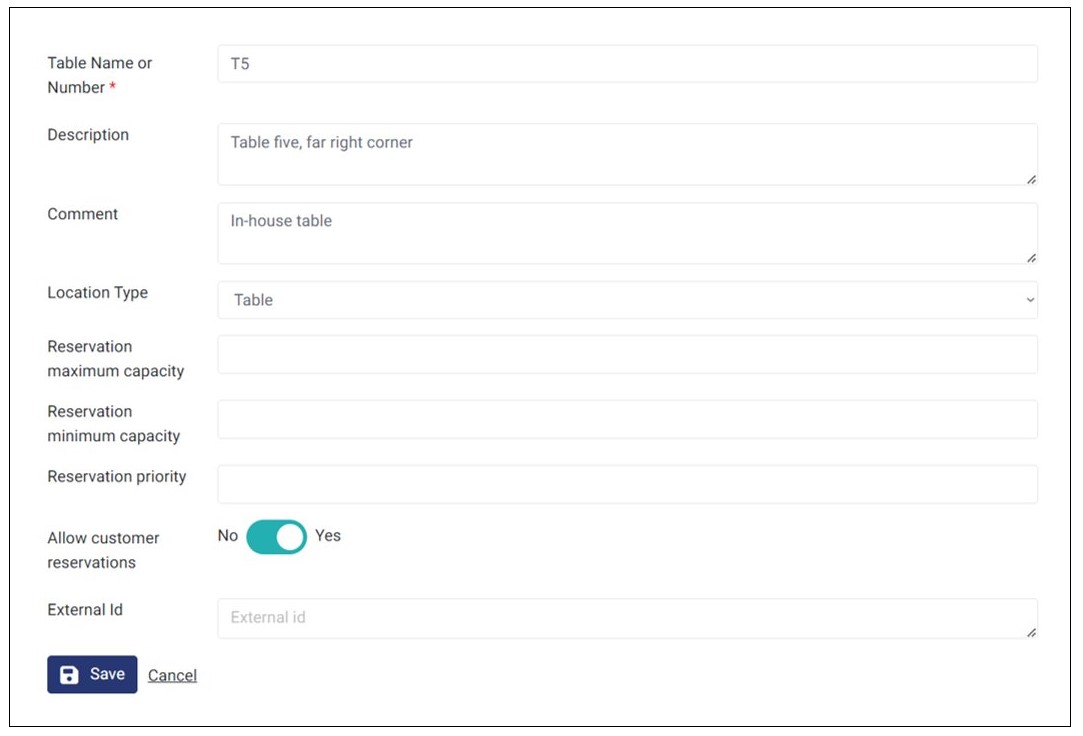
To add a table, a location, or a room click on Add table just below the list of already saved tables and locations. Below are the fields you need to fill in when adding an individual table:
- Table name or number: enter the table number (1, 2, 3, and so on) or enter up to ten characters to code your tables (like “REC-TBL-RT”).
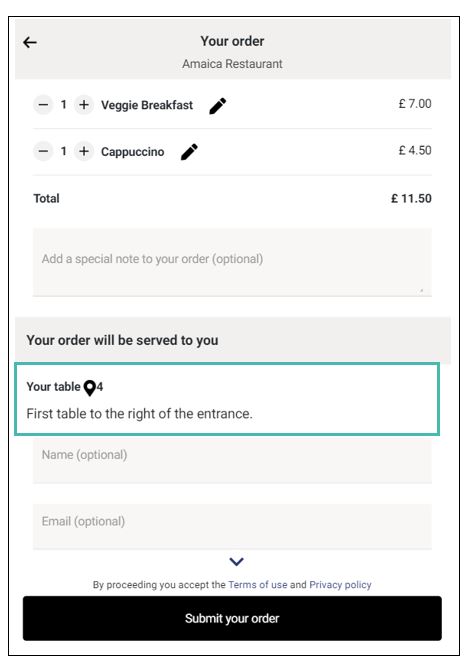
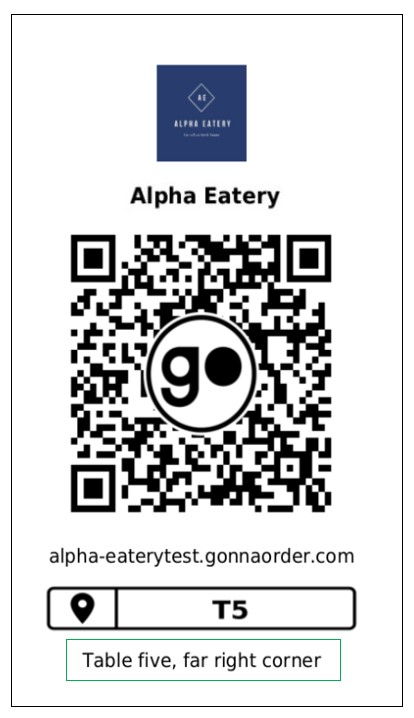
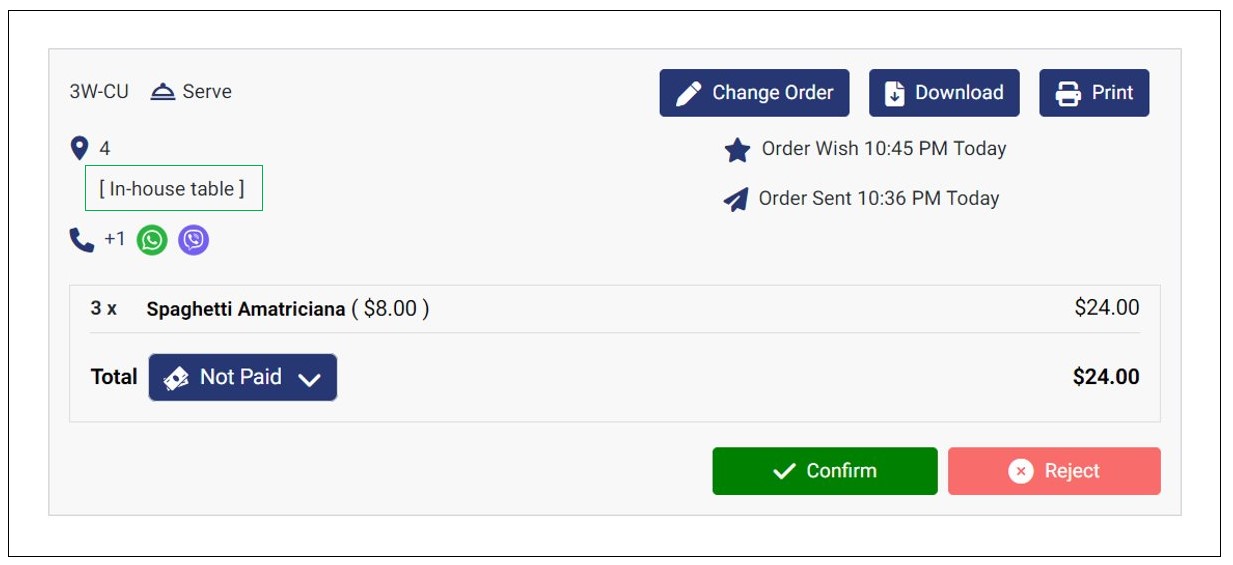
- Description for the location: A location description can help customers understand you better. GonnaOrder displays the location description on the customer order page. The table/location description is also added to the table QR code pdf that you download from the store and the order pdf receipt printed/downloaded from the orders dashboard. We recommend that you use meaningful descriptions for tables, rooms, and locations. The description can contain up to 1000 characters.
- Comment: You can add a comment to explain the table or location name. The comment is not visible to customers but can be seen by store staff when they view an order. For example the table with the name “REC-TBL-RT” can have the comment “Reception” or the table with the number “5” can have the comment “lobby entrance stand”. The comment can contain up to 1000 characters.
- Location type: There are 3 possible values for location type: table, location, or room. The table option refers to the dining tables you have on the premises. The location option might be an office that has contracted you to serve tea or lunch, or that building where some of your customers reside. The room option refers to rooms owned or managed by you under your restaurant, hotel, or bar. Read more on how to set up rooms and locations.
- Reservation maximum capacity: If you support table reservations, you can enter the maximum capacity of that table. This ensures that anyone looking to reserve that specific table adds a number of people that can be accommodated by the table.
- Reservation minimum capacity: On this field, enter the minimum capacity of the table. This ensures that the table can only be reserved for the number of people that are acceptable and not below the desired number of people.
- Reservation priority: Here, you can enter the reservation priority of table (e.g., 1,2,3, and so on). When a customer or store admin makes a reservation, it is assigned to the table with the top priority as long as the it can accommodate the selected number of people.
- Allow customer reservations: If you want customers to reserve the selected table, toggle the button to Yes. Otherwise, toggle the button to No.
- External Id: If you have integrated your store with external providers like POS systems, you may want to include an external table Id. This helps you identify from which table an order has been sent.
The Location Description Is Printed on the QR Code PDF.
Location Description and Comments Can Span Multiple Lines
- When creating a table or location, you can use the enter/return or shift + enter keys on windows to add a new line. Location comments added in multiple lines will appear in the same way on the order details page for all orders associated with a given table or location.
- GonnaOrder displays the location description to customers through the order page and the printed order receipt. On the other hand, the location comment is only visible to store staff on the order details page.
Update Table Details
You can update the table fields like the location, description, comment, and location type where location type refers to the type of table this can be. In order to update these fields of any particular table, click on the table name/number on the screen of the table list and modify the fields appropriately. Example table names or numbers are “101”, “A-23” “ROOM202” or “OFFICE32. You can optionally add a comment to a table to identify it better when an order arrives from this table. Click Save and the updates will be saved.
When you update the table name or number, the table’s unique URL will change too. This link is the same one that a customer will get after scanning the table QR code. If this is easier for you, you can communicate this link to your customers, instead of sharing a QR code with the table number.
Finally, you should remember that you will need to reprint the QR code after changing the table name or number. This is because of the fact that the table link changes in this case.
View the List of Tables
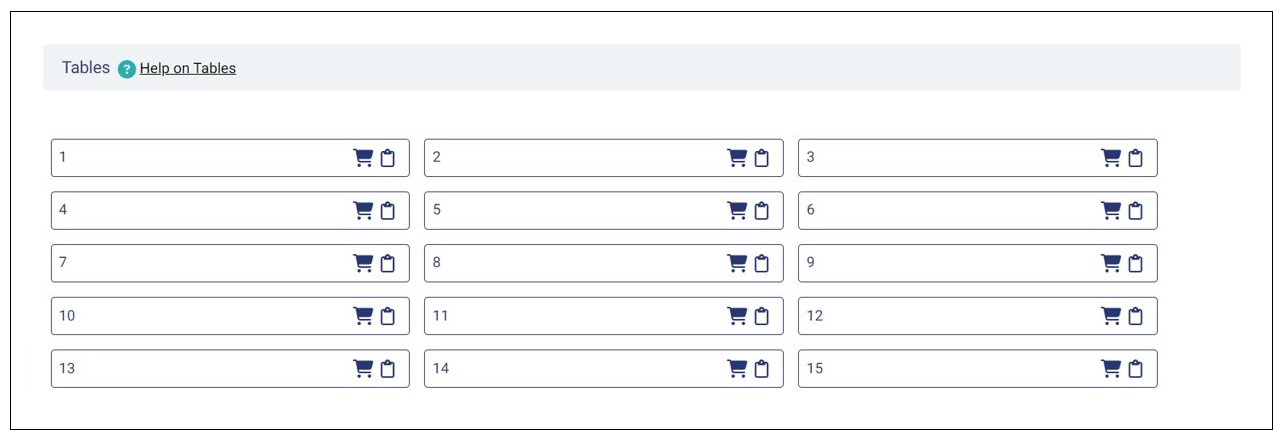
After creating tables, they will appear in your store under the Tables section with their names/numbers. You can click on an individual table to view or update the related details.
Capture Orders From a Specific Table
From the tables list, you can navigate to the order capture section by clicking on the clipboard icon for a particular table. This is useful for assisted ordering where waiting staff place orders for customers sitting at different tables. An order placed in this manner will be associated with the table on which you clicked. It will automatically be a table service order and not a delivery or pickup order.

Filter Open Orders From a Particular Table
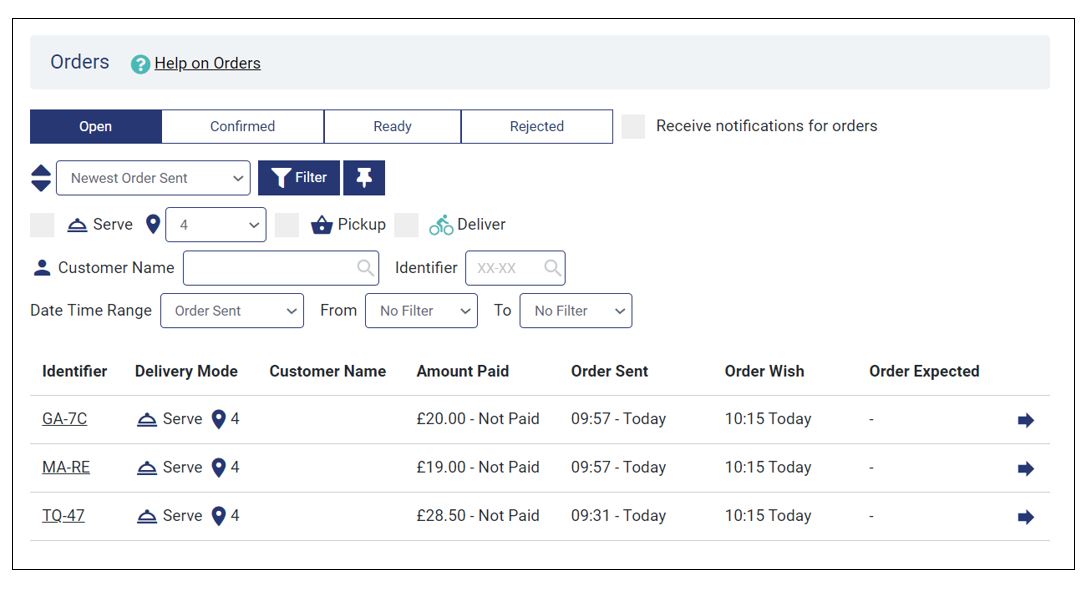
A shopping cart icon is made available alongside the clipboard icon for every table created for your store. Clicking on the shopping cart takes a user to the orders sections and displays all open orders associated with the selected table.
To return to the tables section after filtering orders this way, a user must click on the tables entry in the main menu.
See other ways to filter orders.

Filter Open Orders From a Table With an Open Tab
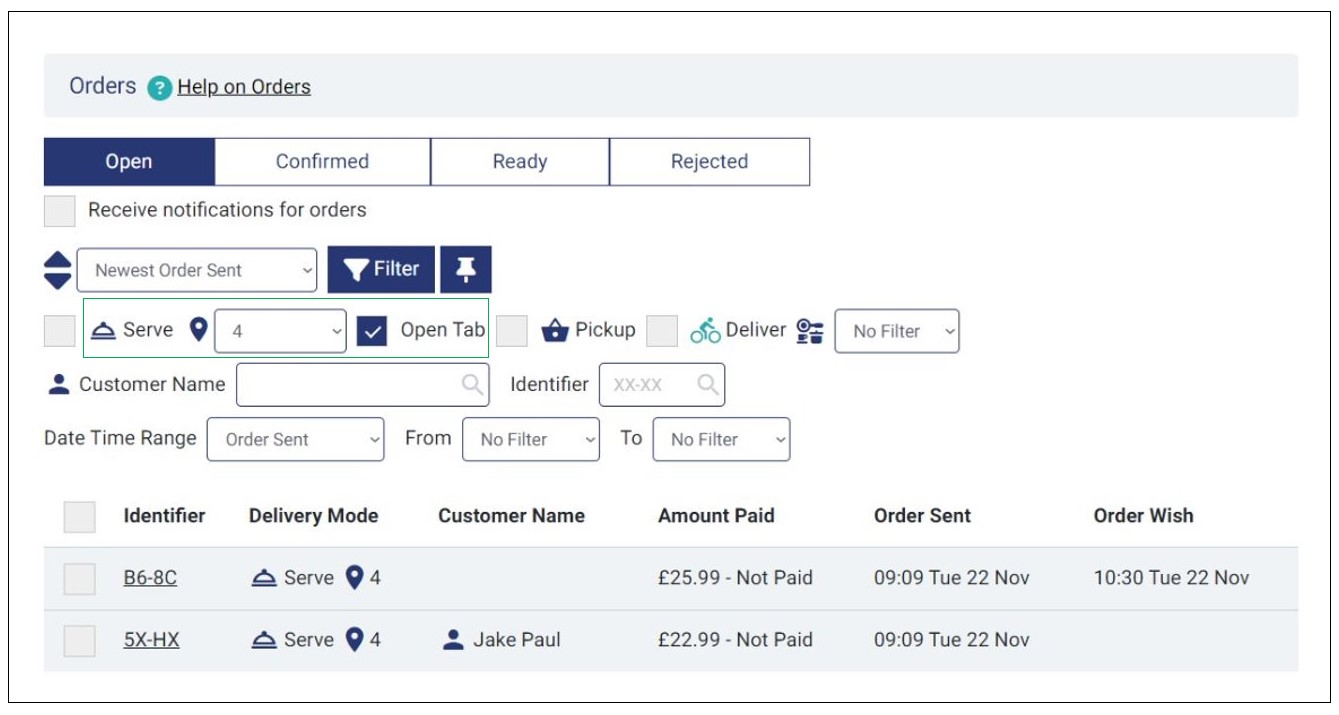
When open tab ordering is enabled for a particular table, clicking on the shopping cart icon for that table filters open orders associated with the current order tab. This is a shortcut way of viewing only open orders in the latest open tab for any given table.

Ordering From a Table URL or QR Code
When a customer scans a QR code or visits a table URL to place an order, GonnaOrder pre-fills the table to which the order will be served for them. On the order page, the customer will see their table name or number filled in bold letters and a description of the table or location.
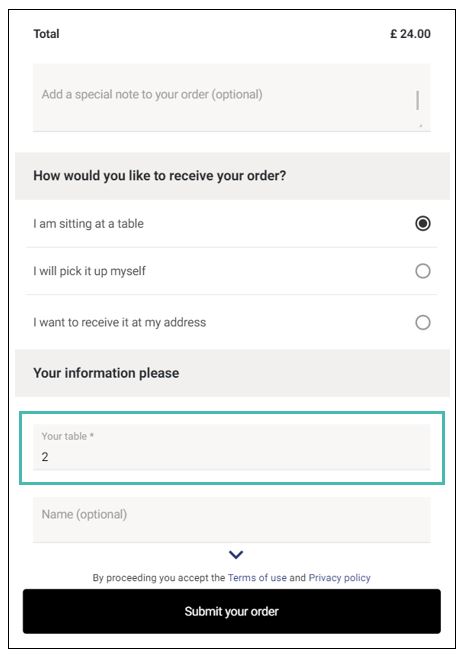
On the other hand, if a customer used a store’s generic URL i.e. mystore.gonnaorder.com to place an order in your store, they would be required to enter the table number manually. Furthermore, they would not see the table or location description.
Download Table QR Codes
QR Code File Type Formats
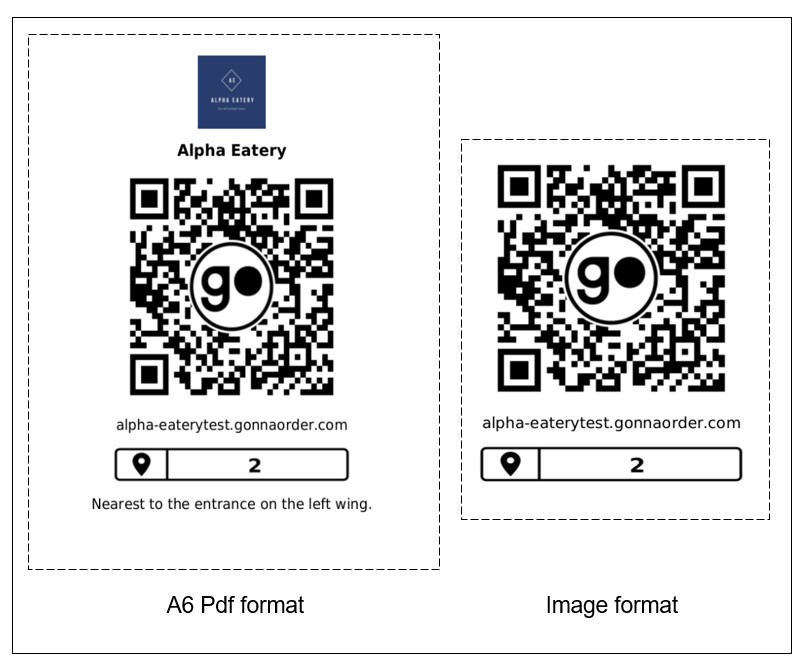
GonnaOrder allows you to download table QR codes directly from the store dashboard. You can then print them and place them in your store or edit them as pictures. Two file formats are supported:
- PDF Format: This format is an A6 PDF document. This means that 4 QR codes fit on an A4 page which is the most common paper size for printing. This format is useful if you want to print the QR code and place it on a stand in your store. This pdf includes also the logo and name of your store, a location QR code, and a location description.
- Image Format: This format is used if you would like to save the QR code as an image. You may want to do this if you want to add additional colors and instructions to your QR code and customize it according to your brand before printing it. You will also find this format appropriate if you want to print the QR code directly on the tabletop.
Download All Table Qr Codes
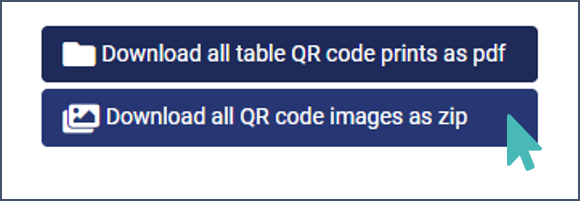
The easiest way to download all table QR codes is from the tables section. You can choose to download each of the two formats described above, PDF or image. There are two buttons to download all QR codes either as a combined A4 pdf format, ready for printing or as a zip format with all images of the table QR codes
Download Individual QR Codes
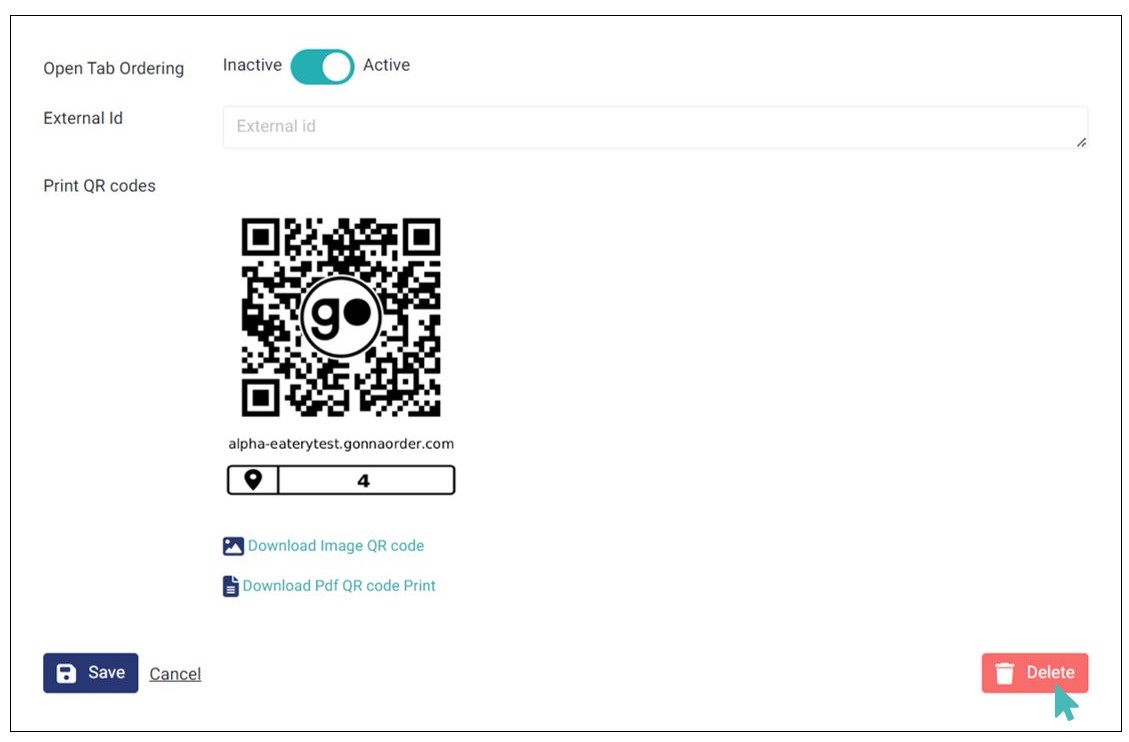
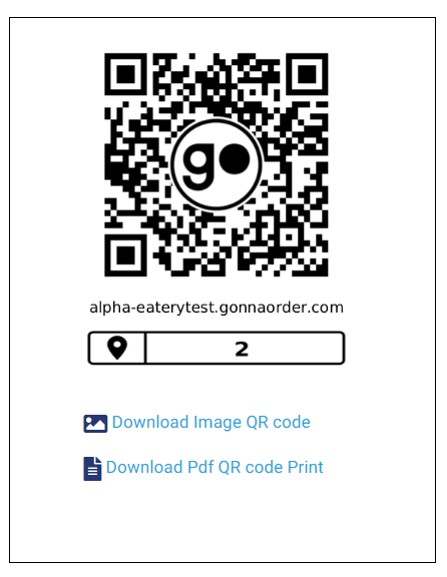
You may also need to download only QR codes of specific tables, say for example you are doing replacements. You can easily find the QR codes for a specific table in the two formats described above when you select the table from the list of tables and you click to edit a table. Clicking on the QR code downloads it to your device in the image file format.
Enable Open Tab Ordering for Individual Tables
Open tab ordering is a feature that allows a customer to place multiple orders from the same table on your premises and have them billed as one. The feature allows you to create and close order tabs as needed and print or download combined order receipts for open order tabs.
The table-level open tab ordering setting allows you to open new order tabs for one or a few tables without affecting the majority of the tables. On the other hand, you can enable Open Tab ordering for your store where all tables and locations can have open order tabs and, in that case, you do not need to enable or disable Open Tab ordering under every table.
Use open tab ordering for individual tables is applicable when you have exceptions on tables that should or should not have open order tabs. The store-wide setting is better suited in cases where the majority of the tables can or cannot have open order tabs.
Notice that the setting for individual tables overrides the store-wide open order tab setting, allowing you to enable and open order tabs when the latter is disabled.
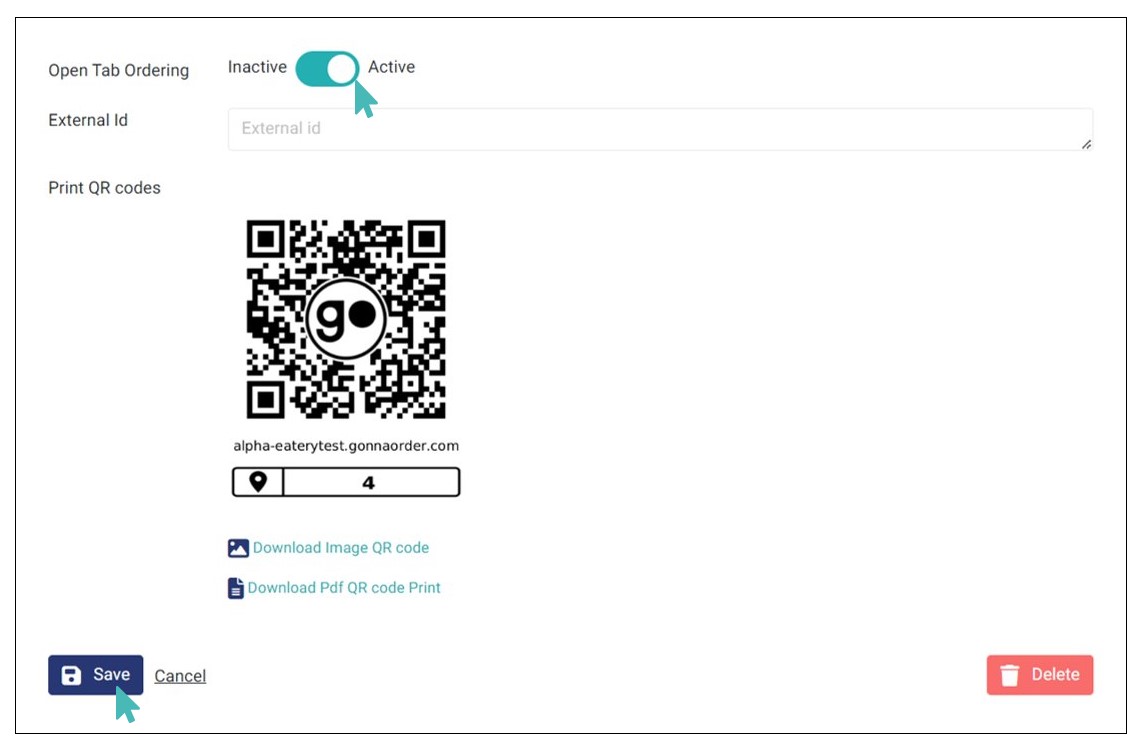
To enable Open Tab ordering for a particular table, go to Tables and click on the table you would like to update. This should bring up the table details and you can then click on the Open Tab Ordering toggle button to turn it on.
Delete a Table
You may want to delete a table from your store when you don’t need it anymore, or if you have created it by mistake. To Delete any particular table, click on the number or name of that table from the table list. In the screen to update a table, scroll down and click on the Delete button. This action is not reversible so you need to be certain when want to delete a table that you don’t need anymore. In case you delete a table that has been in use, all the associated orders will not have a table reference. You will still be able to see these orders though but with a blank table number. Recreating the table does not add back the reference.
