GonnaOrder allows you to manage tables via Excel. This option provides an easier and faster way to create and update table data. By uploading table data via an Excel file, store admins are able to create and update tables in bulk and with minimal chances of errors.
On This Page
Create Tables Via Excel
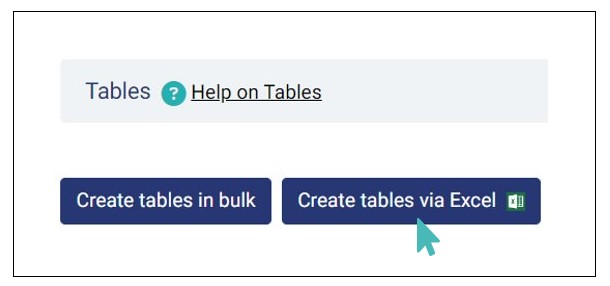
If you don’t have existing tables for your store, you can create them entirely using Excel. Simply log in to your store and navigate to Tables on the side menu. Click the Create tables via Excel button to proceed.
Next, download the table data Excel template provided in the next page.
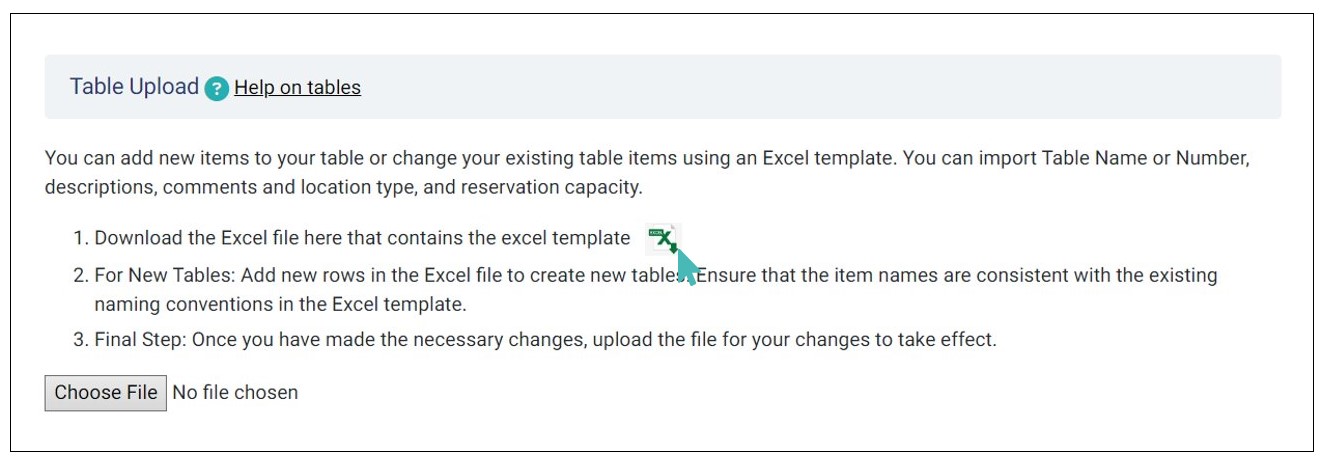
Updating the Excel File
Create the tables by filling information on the file you just downloaded. The Excel file contains the following fields.
- Table name or number: Enter the table number (1, 2, 3, and so on) or enter up to ten characters to code your tables (for example, “REC-TBL”).
- Description: This description helps customers learn more about the table, location, or room. GonnaOrder displays it on the customer’s order page, includes it in the QR code PDF, and on printed/downloaded order receipts. It’s recommended to use clear, meaningful descriptions for tables, rooms, and locations, with a limit of 1000 characters..
- Comment: You can add a comment to explain the table or location name. The comment is not visible to customers but can be seen by store staff when they view an order. For example the table with the name “REC-TBL” can have the comment “Reception” or the table with the number “5” can have the comment “lobby entrance stand.” The comment can contain up to 1000 characters.
- Location types: There are 3 possible values for location type: table, location, or room. The table option refers to the dining tables you have on the premises. The location option might be an office that has contracted you to serve tea or lunch, or that building where some of your customers reside. The room option refers to rooms owned or managed by you under your restaurant, hotel, or bar.
- Reservation maximum capacity: If you support table reservations, you can enter the maximum capacity of that table. This ensures that anyone looking to reserve that specific table adds a number of people that can be accommodated by the table.
- Reservation minimum capacity: On this column, enter the minimum capacity of that table. This ensures that the table can only be reserved for the number of people that are acceptable and not below the desired number of people.
- Reservation priority: Here, you can enter the reservation priority of each table (e.g., 1,2,3, and so on). When a customer or store admin makes a reservation, it is assigned to the table with the top priority as long as the it can accommodate the selected number of people.
- Allow customer reservations: This column determines whether customers can reserve that specific table. The input can be either a Yes or No.
- External Id: If you have integrated your store with external providers like POS systems, you may want to include an external table Id. This helps you identify from which table an order has been sent.
- Address 1 & 2: If you choose location type as Location or Room, you can provide the address lines on these columns to guide customers better on where the location is situated.
- Post Code, Region, City, & GPS Coordinates: Like the address lines, you can use these respective columns to provide the exact location of the facility to your customers.
- Email & Phone Number: Provide the email and phone number on these columns so that customer can have the option to contact the location when necessary.
Note
- The columns from Address Line 1 to Phone Number are only useful if the location type is Location or Room.
- Table Name or Number and Location types are the only columns that are mandatory and cannot be empty. If you leave any of them empty, you will get an error when uploading the excel file.
Upload the Excel File
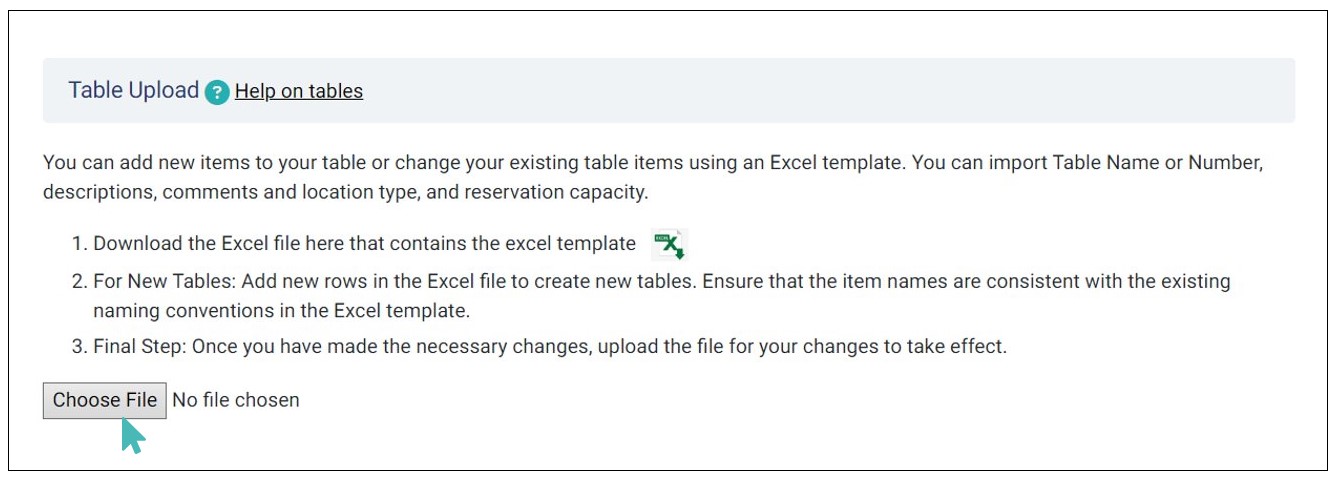
Once you enter table data on the Excel template, save the changes and upload it to your store. Click Choose File and select the updated Excel file from your device to upload.
Accept the file you selected to create the tables.
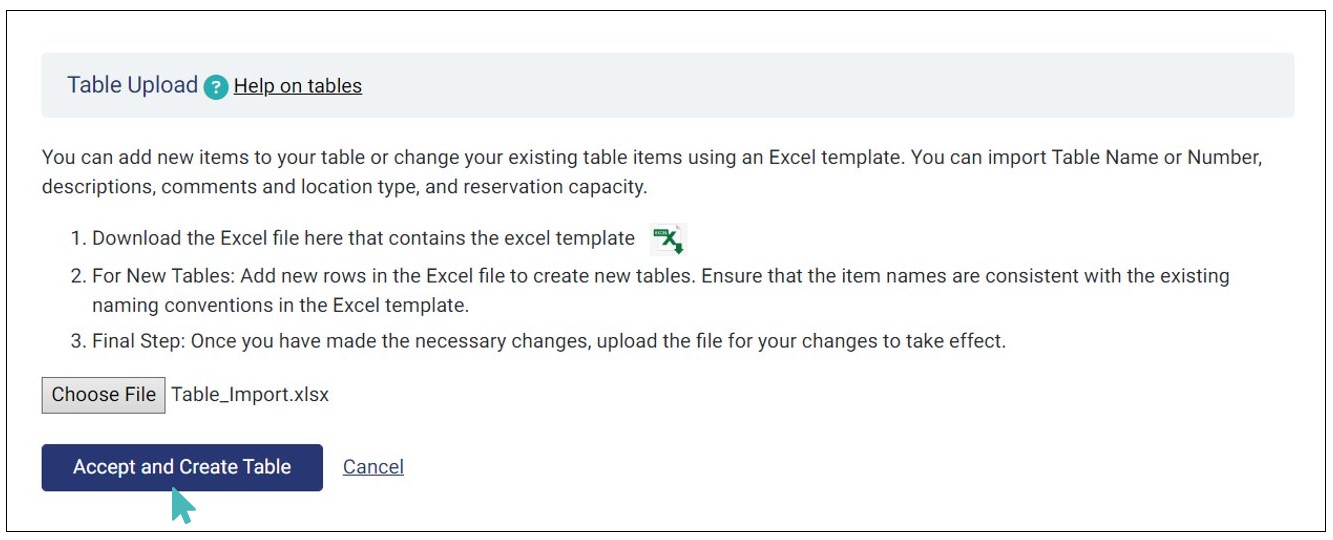
The table creation process takes up to 15 minutes and everything is set. You can now view the tables on the Tables section on the side menu.
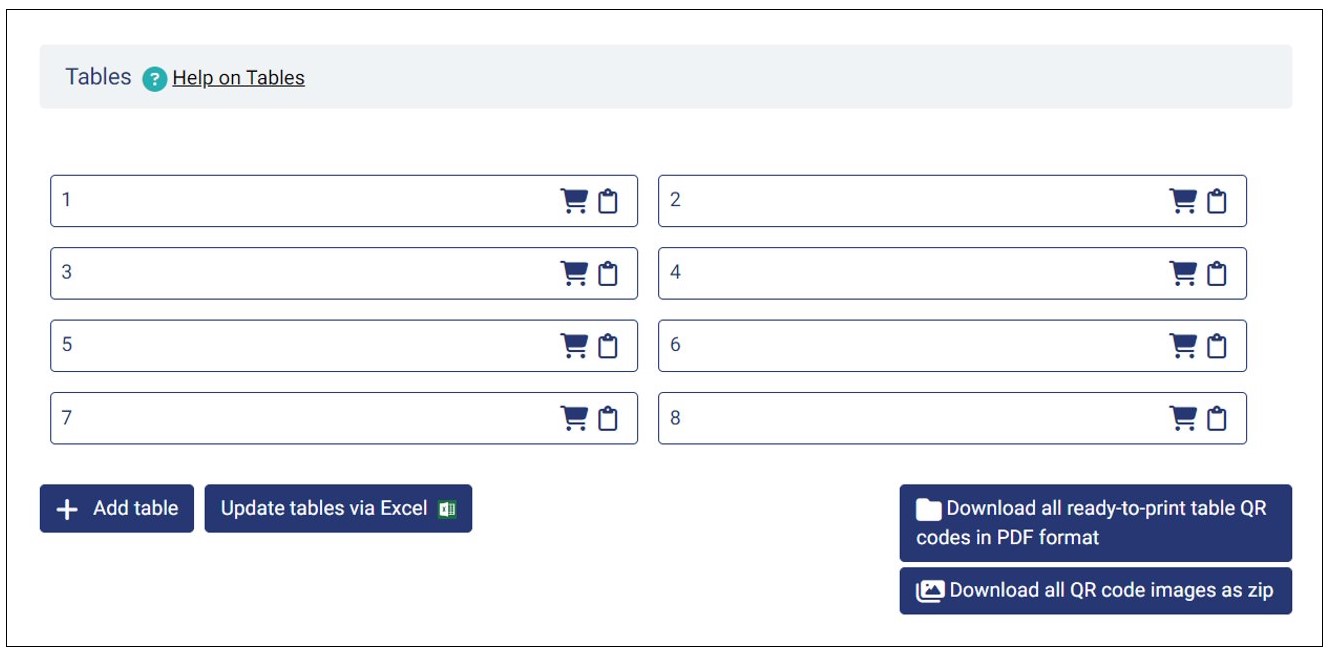
Update Tables Via Excel
GonnaOrder allows you to create tables via Excel. But that’s not all – you can also update existing tables via Excel. This option lets you update multiple tables at once directly from the Excel file. Whether it’s adding more tables or editing the existing ones, you can update the tables as you wish and upload them when done. As a result, it saves valuable time, which would have been otherwise spent updating the tables one at a time.
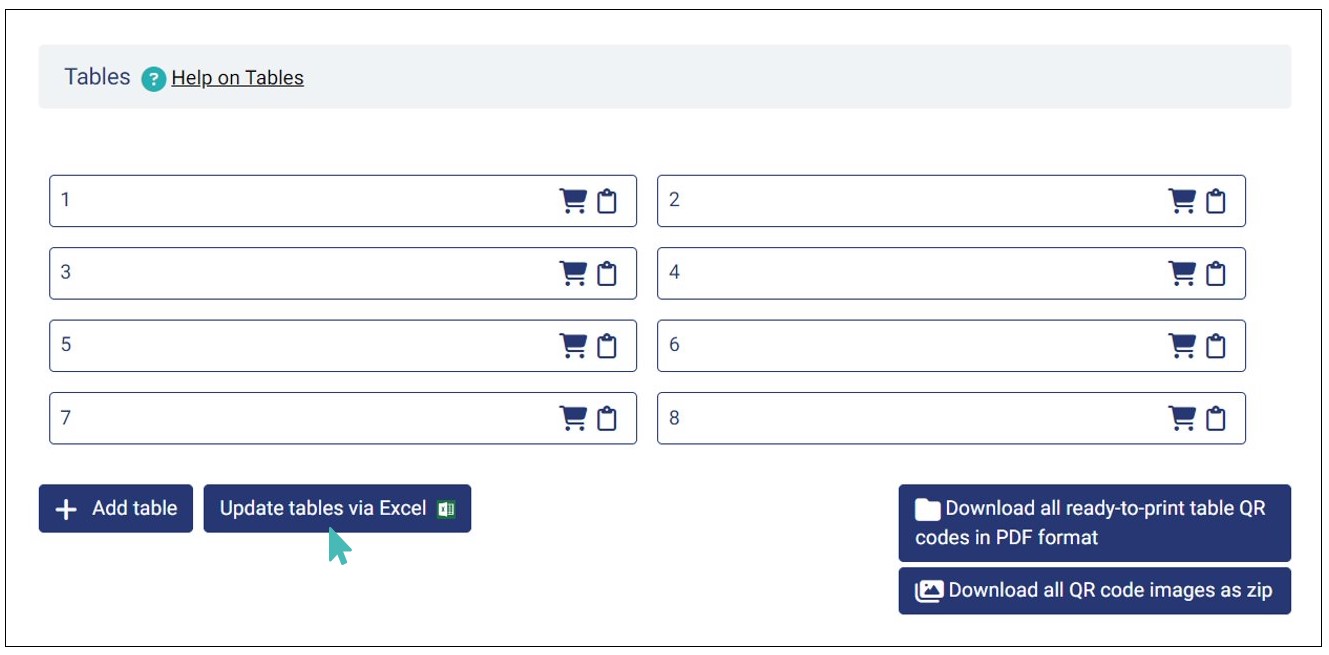
To update existing tables via Excel, navigate to Tables on your store and click the Update tables via Excel button.
Next, download the Excel file that contains your table data and update the columns accordingly. Here, you can add more tables, change table number or names, and even other key table details like location type.
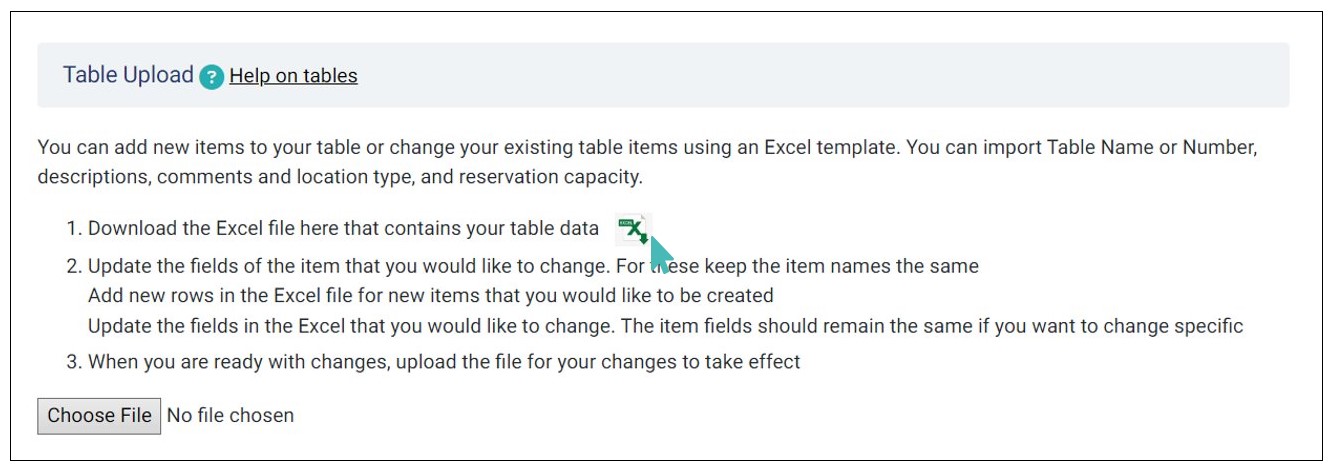
When done updating the details, save the changes and upload the Excel file by following the steps outlined in the Upload the Excel File section. Click Accept and Update Tables to initiate the process of updating the tables via Excel.
It can take up to 15 minutes for the updates to take effect. Once the update is complete, you can view the updated tables on the admin dashboard.