When you create your GonnaOrder store, you must provide basic details about your business. Additionally, you can provide a store logo and cover image. Both the store details and images are available for editing under the Settings > Details.
On This Page
- Add Basic Details
- Select Default Language for Store
- Add & Delete Store Images
- Store Image Guidelines
Add Basic Details
The store name, address, description, and Time Zone are all basic information relating to your store. After registering your store, you will be able to update these details under the details section.
To add or update your store’s basic details, click on Settings from the GonnaOrder menu. By default, the Details tab will be pre-selected and you can edit the information directly.
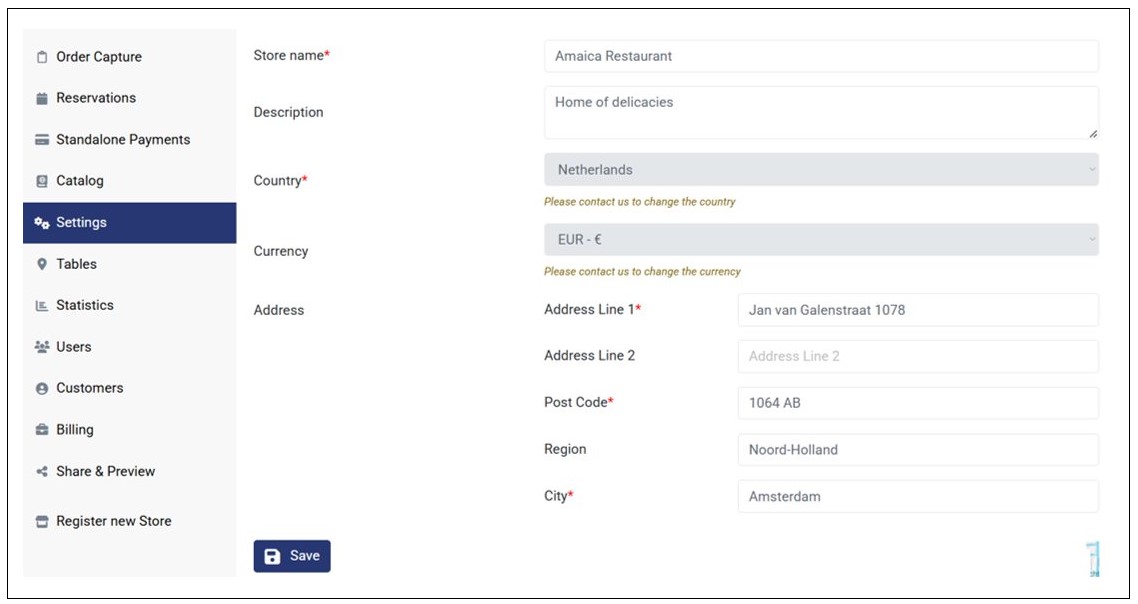
You can add or update these details under the Details tab:
- Store Name: You can change or update your store name at any time at will. A name change can be necessary when you have moved your store to a new location or after a change of ownership.
- Description (Optional): The store description is optional. However, it helps customers identify your store and what you sell or where you are located. It can be updated to reflect changes in the menu, store ownership, and location.
- Country: Every store must be associated with a country. The country is selected when you create your store. However, if you would like to change the store’s country once the store is created, you can do so by contacting GonnaOrder support.
- Currency: This setting allows users to view their store’s currency. Only super admins and white label admins can change their store currency. However, a standard user can contact GonnaOrder to get their store’s currency changed.
- Time Zone (Optional): If you made an error while previously providing the time zone information, then you can update it from the details section. The time zone selected for your store will be used to set your store schedules and configure opening times.
- Address, Post Code, Region (Optional), City: If you need to change your Address, Post Code, Region, and City information for your store, you can change it here. You can use the two address lines provided to pinpoint the location of your store. Additionally, GonnaOrder’s integrated map system will help you confirm the location of your store on an actual map that only comes up
- Phone Number (Optional): If the contact number for your store has changed, you should update it from here so that your customers can reach you for inquiries.
Select Default Language for Store
You can select any language as the default language of your store. However, every item and category in your store (plus option groups and options) must be available in the target language. Therefore, you must translate all labels in your store in the target language before making the selection.
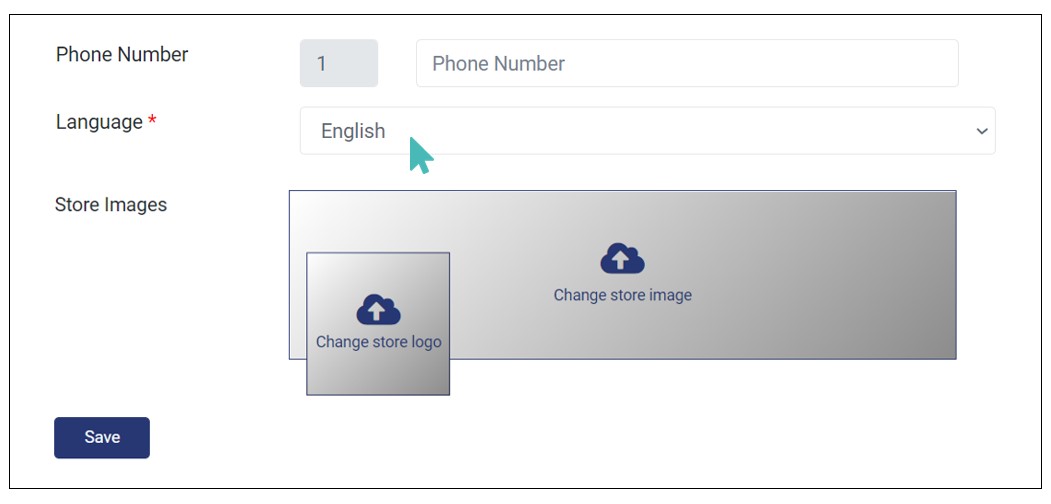
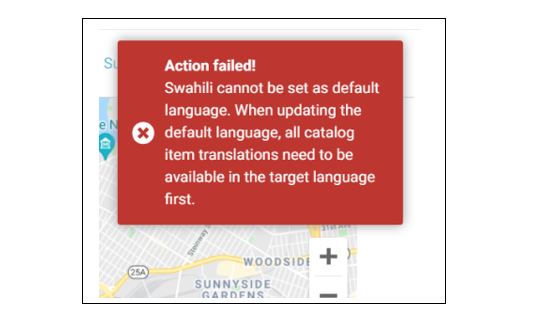
Attempting to switch the default language to one for which not all store items have translations will result in an error. To avoid this, you can change and translate labels via Excel. That way, you will be able to easily translate all labels and upload the translations when ready and you can then switch the store’s default language easily.
Add & Delete Store Images
There are two types of images that GonnaOrder allows you to add and delete: a store logo and a cover image. The logo is usually part of your company’s branding and represents your store’s identity while the cover image can showcase some of the items available in your store.
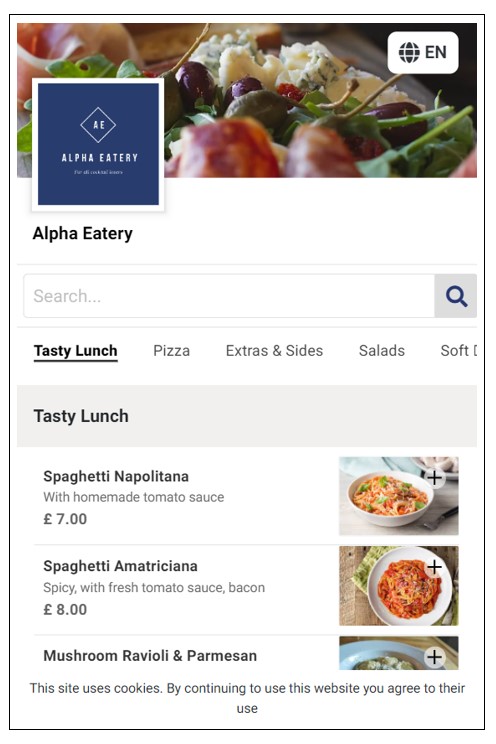
Both the logo and the cover image are displayed as part of the store header when a customer visits your GonnaOrder store.
Although GonnaOrder supports jpg/jpeg, png, and webp images, we highly recommend you to upload png images. The maximum size of image accepted is 5Mb. However, GonnaOrder recommends your image size to be within 10KB – 20Kb to optimize loading time.
You could use some free and simple online tools for reducing your image sizes such as https://tinypng.com/and tens of others that are available online.
Adding a Logo
As we have mentioned, a store logo is part of your company’s branding and is part of your store’s identity. Further, it enhances the appearance of your store and can help customers remember you in a better way. Therefore, you should ensure that you use a unique logo image for your GonnaOrder store.
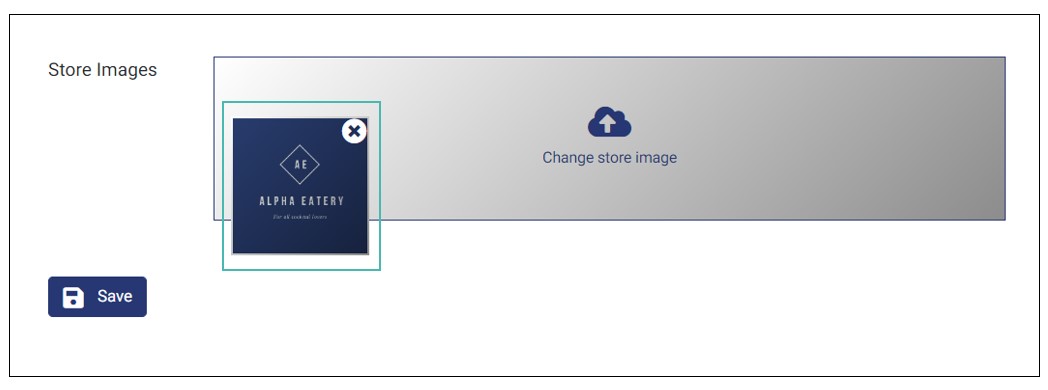
To add a logo to your store, head over to the store settings and under the Details tab, scroll down to Store Images, and click Change Store Logo.
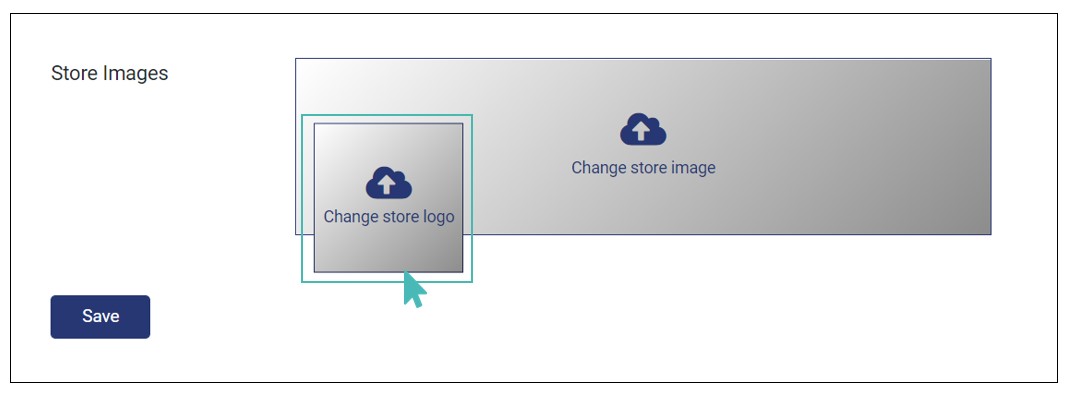
Browse your images from the gallery and click Open after choosing your image. Click Save to set the image as your store’s logo.
Adding a Cover Image
A cover image adds aesthetic appeal to your store header. You can use the store image section to introduce some of the products available in your store. It is also a great place to highlight fast-moving products or ingredients you use.
To add a Cover image to your store, click Change Store Image as shown in the image below.
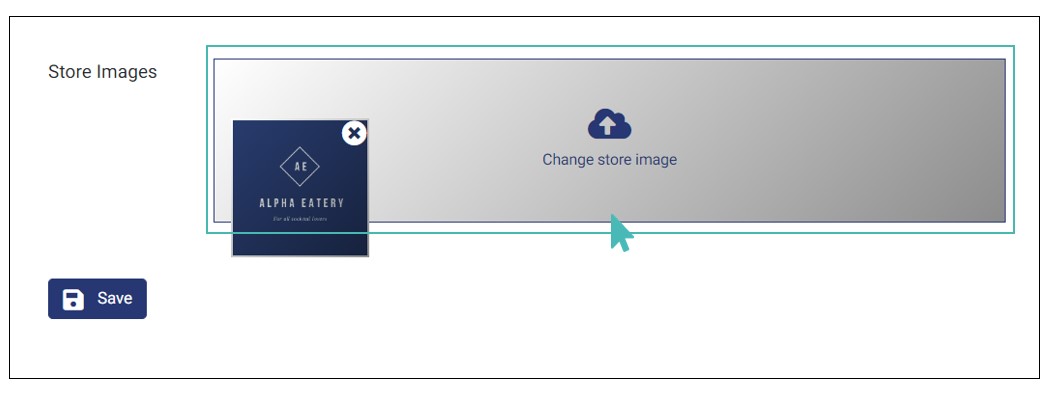
Choose your image and click Open and click on Save to save your image.
Deleting a Store Image
There are cases where you will need to remove a store image. Both logos and store cover photos can be removed in the same way.
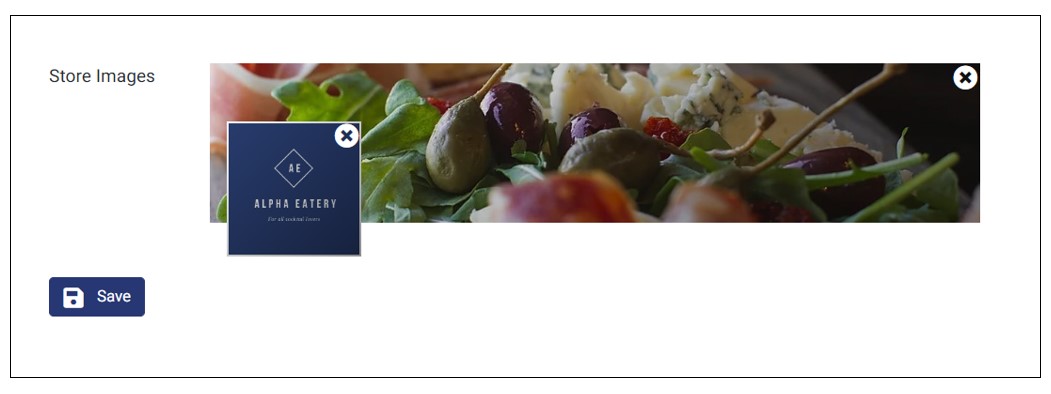
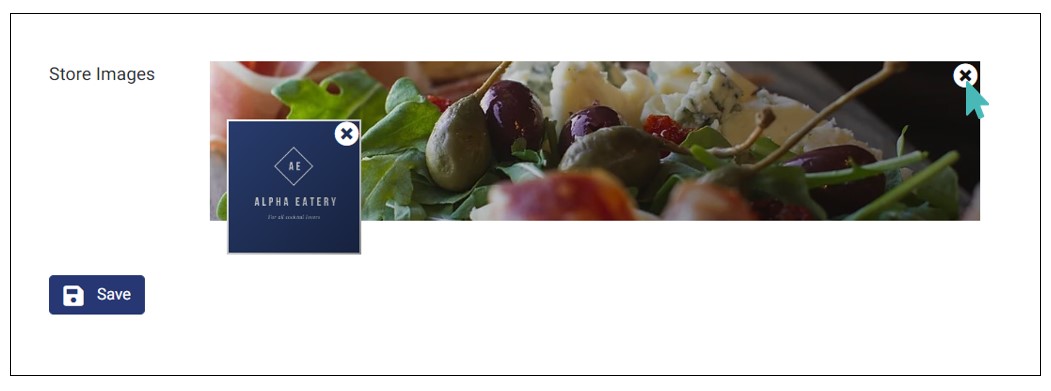
In the store Images section, decide whether you want to remove the logo or the cover image. On the image so chosen, hover your mouse cursor near the upper right corner and click on the X symbol. This will remove the image from your store and you will need to upload or replace it with another.
For this example case, we are removing the store background image, but you can also clearly see the X symbol on the logo image.
Store Image Guidelines
Store Cover Photo

There are two suitable image size ratios for the cover photo.
5:1 for desktop and tablet resolutions
3:1 for mobile resolution
The maximum width of the image should be 992px. Since the same image is used for the mobile version, the maximum height that will be displayed is 331px. Therefore, the ideal image resolution would be 992x331px.
You should have in mind that the top and the bottom parts (top and bottom 66px) of the image would not be visible on the desktop. For the store cover photo, you should, therefore, use an image that is more panoramic and has the majority of the part in the middle rather than spread across its height.
Store Logo
The ideal ratio for a store logo image is square 1:1. However you may choose to upload any other ratio. The logo will not be cut but will be resized to a maximum of maximum 120px width and an appropriate height. The recommended image dimension for the store logo is 120x120px.
